

How to install anchor bolts in a wall?
Jan 19, 2026
Leave a message
Hey there! As a supplier of anchor bolts, I've seen firsthand how important it is to know how to install these little guys properly. Anchor bolts are super useful for securing all sorts of stuff to walls, like shelves, cabinets, and even heavy machinery. In this blog, I'll walk you through the process of installing anchor bolts in a wall step by step.
What Are Anchor Bolts?
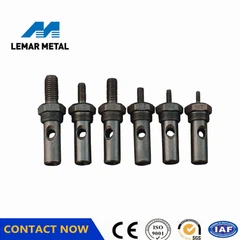
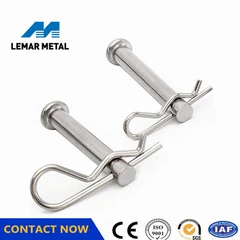
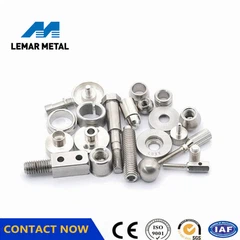
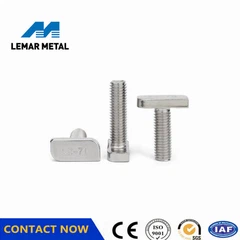
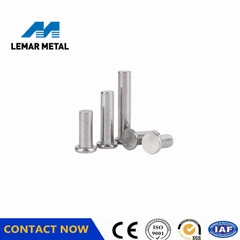
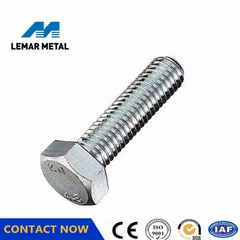
Before we dive into the installation process, let's quickly go over what anchor bolts are. Anchor bolts are fasteners that are used to attach objects to concrete, brick, or other masonry surfaces. They come in different shapes and sizes, depending on the application. Some common types of anchor bolts include Stainless Steel Round U-bolt, Stainless Steel Anchor Bolt, and Low Carbon Steel U-Bolt.
Tools and Materials You'll Need
- Drill and Masonry Bits: You'll need a drill with the appropriate masonry bits for the type of wall you're working on. Make sure the bits are the right size for the anchor bolts you're using.
- Anchor Bolts: Choose the right type and size of anchor bolts for your project. Consider the weight and type of the object you're attaching, as well as the type of wall material.
- Wrench or Socket Set: You'll need a wrench or socket set to tighten the nuts on the anchor bolts.
- Level: A level will help you make sure the object you're attaching is straight.
- Pencil: Use a pencil to mark the locations where you'll drill the holes for the anchor bolts.
- Safety Gear: Wear safety glasses, gloves, and a dust mask to protect yourself from debris and dust.
Step 1: Plan Your Installation
The first step in installing anchor bolts is to plan your installation. Decide where you want to attach the object to the wall and mark the locations for the anchor bolts with a pencil. Use a level to make sure the marks are straight and evenly spaced.
Step 2: Drill the Holes
Once you've marked the locations for the anchor bolts, it's time to drill the holes. Use a drill with a masonry bit that's the same size as the anchor bolts you're using. Make sure the drill is set to the correct speed and torque for the wall material.
Drill the holes to the appropriate depth. The depth of the holes will depend on the type of anchor bolts you're using. Most anchor bolts require a hole that's slightly deeper than the length of the bolt.
Step 3: Clean the Holes
After you've drilled the holes, use a brush or a vacuum to clean out any dust or debris. This will ensure that the anchor bolts fit properly and provide a secure hold.
Step 4: Insert the Anchor Bolts
Once the holes are clean, insert the anchor bolts into the holes. Make sure the bolts are inserted all the way to the bottom of the holes.
Step 5: Attach the Object
After the anchor bolts are inserted, it's time to attach the object to the wall. Place the object over the anchor bolts and align the holes in the object with the bolts. Insert the nuts onto the bolts and tighten them with a wrench or socket set.


Step 6: Check the Installation
Once the object is attached, use a level to check that it's straight. If necessary, adjust the nuts on the anchor bolts to make the object level.
Tips for a Successful Installation
- Choose the Right Anchor Bolts: Make sure you choose the right type and size of anchor bolts for your project. Consider the weight and type of the object you're attaching, as well as the type of wall material.
- Follow the Manufacturer's Instructions: Always follow the manufacturer's instructions when installing anchor bolts. This will ensure that the bolts are installed correctly and provide a secure hold.
- Use the Right Tools: Make sure you use the right tools for the job. Using the wrong tools can damage the wall or the anchor bolts.
- Be Careful When Drilling: When drilling the holes, be careful not to drill too deep or too close to the edge of the wall. This can weaken the wall or cause the anchor bolts to fail.
- Tighten the Nuts Properly: Make sure you tighten the nuts on the anchor bolts properly. Over-tightening the nuts can damage the bolts or the wall, while under-tightening the nuts can cause the object to loosen over time.
Conclusion
Installing anchor bolts in a wall is a relatively simple process, but it's important to do it correctly to ensure a secure and long-lasting installation. By following the steps outlined in this blog and using the right tools and materials, you can install anchor bolts like a pro.
If you're in the market for high-quality anchor bolts, we're here to help. We offer a wide range of anchor bolts, including Stainless Steel Round U-bolt, Stainless Steel Anchor Bolt, and Low Carbon Steel U-Bolt. Contact us today to discuss your needs and get a quote.
References
- "Anchor Bolt Installation Guide." Manufacturer's Manual.
- "Masonry Drilling Tips." DIY Home Improvement Magazine.
Send Inquiry