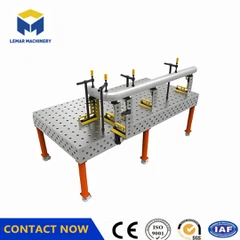
How to determine if a 3D welding table has a positioning deviation?
May 11, 2026
Leave a message
1. Verify through repeated positioning tests
Using the same fixture and standard workpiece, clamp the workpiece multiple times (≥5 times) under the same process, and measure the positional deviation each time.
Use a dial indicator or coordinate measuring machine to check the coordinates of key points. If the maximum deviation is > ±0.1mm, a positioning deviation is determined to exist.
Pay special attention to the positioning consistency of corners, centers, and high-frequency use areas.
2. Observe welding quality anomalies
Continuous weld seam offsets, uneven penetration, incomplete welds, or misalignments persist even after ruling out welding machine parameters and robot path issues.
Within the same batch of workpieces, the assembly matching degree decreases, requiring frequent fixture adjustments to complete welding.
3. Check workpiece assembly consistency
When using the same fixture scheme, the workpiece position is inconsistent after each clamping, resulting in misalignment of butt joints or holes.
Modular fixtures exhibit "suspended" or "warped" phenomena after assembly, with fitting gaps > 0.03mm.
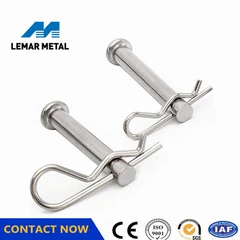
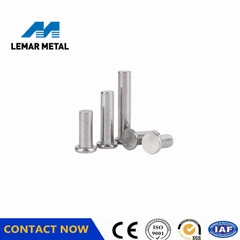
4. Inspect Key Components
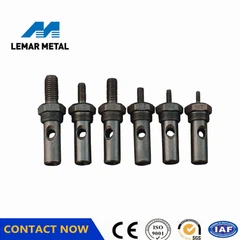
Loose Fit Between Positioning Hole and PC Pin: Significant wobbling after insertion, rotational runout > ±0.02mm (can be checked with a dial indicator).
T-Slot Slider Malfunction: High resistance to movement, abnormal noise, or the slider is stuck and cannot be accurately fixed.
Table Surface Damage: Scratches, dents, and corrosion are present, especially in frequently used positioning areas.
5. Environmental and Usage Factors Investigation
The equipment was not calibrated after being handled, impacted, or dropped.
Long-term operation in environments with temperature differences >10℃ and strong vibration without vibration isolation and temperature control measures.
Accuracy naturally drifts after more than 3 months (high frequency) or 6 months (routine).

Send Inquiry