


How to install and debug a 3D welding workbench?
Oct 18, 2025
Leave a message

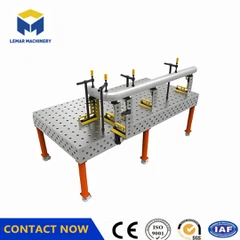
1. Installation Preparation: First, adjust the bracket height to 800mm±5mm using a level. The embedded depth of the anchor bolts must be ≥200mm1.
The cast iron platform should be placed on vibration pads to prevent ground vibrations from affecting precision (flatness error ≤0.10/1000mm).
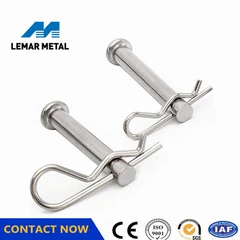
The modular assembly connects multiple workbenches using positioning pins, with a hole alignment tolerance of ≤0.05mm (D28 series standard).
When welding and splicing the steel platform, the thermal deformation should be controlled. It is recommended to use the segmented back welding process.
2. During the debugging process, use a dial gauge to verify the flatness of the working surface. Any localized protrusions should be ground down using grinding paste (tolerance: 0.05mm/300mm).
The verticality check employs a set square with a feeler gauge, ensuring the side verticality is ≤0.10/200mm1.
The functional test shall load 1.5 times the rated load (e.g., 3 tons on a 2-ton platform). After 24 hours, the deformation shall be <0.02mm.
Simulate welding scenarios to verify the fixture's repeatability (qualified if within ±0.1mm).
3. Maintenance points Rust prevention treatment: Apply anti-rust oil every month, and clean the welding splatter in time (it is recommended to use copper brush).
Maintenance of the hole: blow out the dust in the locating pin hole with compressed air regularly to avoid jamming.
Send Inquiry